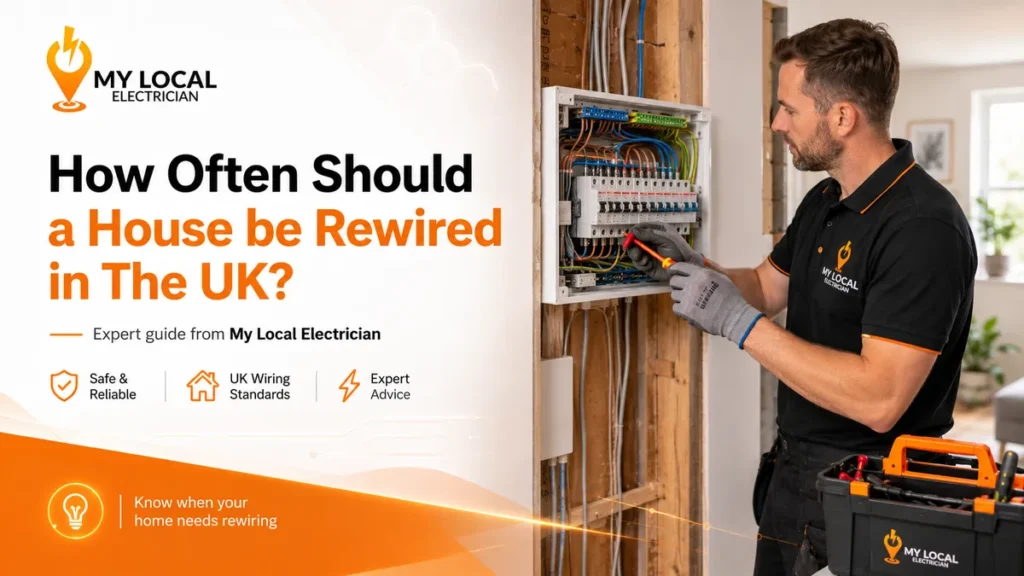
How Often Should a House be Rewired in The UK? A Complete Guide
You move into a charming Victorian home in London. You settle in, and everything appears normal at first. Then the lights begin to flicker. A wall socket heats up. Circuit breakers fail repeatedly. Chaos erupts.
UK property owners prioritise visible repairs. Roofs, boilers, and windows grab homeowners’ attention. Meanwhile, aging wiring lurks behind plaster until failure occurs. This oversight proves costly. Electrical infrastructure deteriorates with age. Neglect creates risk.
So, how often should a house be rewired in the UK? Rewiring frequency depends on multiple variables. No hard expiration exists. Most installations last 25 to 30 years.
In this guide, we’ll explore how often a house should be rewired, what affects the lifespan of electrical wiring, the warning signs to watch for, and whether replacing the consumer unit can sometimes be an alternative to a full rewire. Let’s dive in.
How Often Should a House Be Rewired in the UK?
Electrical wiring mirrors concealed infrastructure. It operates unseen, degrades silently. Until failure strikes, problems can quickly follow.
In the UK, a full house rewire is generally recommended every 25 to 30 years. This is a guideline, not a rule. Condition matters more than calendar. Some systems last for decades. Others fail early.
The age of your property often provides the first clue:
- Homes wired within the last 25 years typically meet current BS 7671 safety regulations.
- Properties between 25 and 40 years old should be professionally assessed.
- Homes with wiring over 40 years old are often candidates for major electrical upgrades.
Particular attention is required to address warning signs that indicate it’s time to rewire your house wiring. Flickering lights, burning smells, or warm appliances aren’t minor annoyances.
Recognise the following critical warning signs to address when you need re-wiring:
⚠ Frequent Circuit Breaker Trips
Circuit breakers are designed to cut power when a circuit becomes overloaded or unsafe. If your breakers trip regularly, it may indicate that the wiring can no longer handle your household’s electrical demands.
⚠ Burning Smells or Scorch Marks
Electrical fires often start behind walls. A sharp, plastic-like odor near the sockets or the fuse board is a red alert. Discoloured outlets, scorch marks, or signs of heat damage may indicate overheating wires that require immediate attention.
⚠ Discoloured or Warm Sockets and Switches
Check your wall outlets. Feel the faceplate. Warm faceplates or visible black/brown scorch marks may indicate dangerous electrical faults behind the walls.
⚠ Flickering or Dimming Lights
Lights that flicker, dim unexpectedly, or change brightness can signal faulty or deteriorating wiring. This issue should not be ignored, especially if it affects multiple rooms.
⚠ Buzzing Sounds from Sockets or Switches
Electrical systems should operate quietly. Buzzing, crackling, or humming sounds from outlets, switches, or light fittings can point to loose connections or damaged wiring.
⚠ Outdated Wiring Systems
Homes with old wiring systems, such as rubber, lead, or fabric-insulated cables, may no longer meet modern safety standards.
⚠ Electric Shocks When Using Appliances
Even a mild electric shock when plugging in or touching an appliance can indicate faulty wiring, poor earthing, or damaged electrical components.
⚠ Insufficient Sockets and Reliance on Extension Leads
If your home depends heavily on extension leads and multi-plug adapters, the electrical system may not be suitable for modern living.
⚠ Old Fuse Box Without Advanced Features
An outdated fuse box may lack safety features like RCD protection. If your property still uses an old fuse system, it may be time to consider an electrical upgrade.
⚠ The Property Is More Than 25–30 Years Old
If a house has not been rewired in over 25 to 30 years, it may no longer comply with current regulations, even if no obvious problems are present.
What Impacts the Lifespan of a House Wiring?
Think of house wiring like the unseen heartbeat of a home. Day after day, year after year, it quietly powers everything around you. The lights. The appliances. The devices you rely on without a second thought.
But not all wiring ages at the same pace. Two houses can be built side by side. Same street. Same builder. Same year. Yet 30 years later, one home’s electrical system may still be performing perfectly. The other could be showing signs of wear, faults, and safety concerns.
The reason? Several factors influence how long residential wiring lasts. Some common factors include:
◆ Electrical Demand
Think about how much electricity a modern household uses. Years ago, homes powered a few lights, a television, and basic appliances. Today, they support computers, smart devices, electric showers, charging stations, and much more.
Older wiring systems were not always designed for these increased loads. Constant strain can accelerate wear and increase the risk of faults.
◆ Quality of the Original Installation
Good wiring starts with skilled workmanship. If the electrical installation was completed by NICEIC-approved qualified professionals like My Local Electrician, using high-quality materials, it will typically last much longer.
Poor connections, substandard materials, and shortcuts during installation may decrease the wiring life cycle.
◆ Age of the Property
Older homes often contain wiring that was installed to standards that no longer exist today. Even if the wiring still works, it may lack advanced safety features designed to protect against electric shocks and fires. As wiring ages, insulation can become brittle, and connections may weaken.
◆ Environmental Conditions
The environment inside a property matters more than many homeowners realise. Heat, moisture, condensation, and even pests can damage electrical cables over time. Lofts, basements, garages, and outbuildings are particularly vulnerable to these conditions.
◆ Previous DIY Electrical Work
Not all electrical issues come from old wiring. In many homes, poorly executed DIY modifications create hidden problems. Incorrect connections, overloaded circuits, and non-compliant alterations can compromise an otherwise healthy electrical system.
◆ Maintenance and Inspections
Regular inspections help small issues stay small. Properties that receive routine electrical checks often enjoy a longer wiring lifespan because defects are identified and corrected before they cause serious damage.
How to Extend the Life of a Residential Wiring?
A house rewire isn’t something most homeowners plan for. One day, everything works perfectly. Next, a circuit starts tripping. A socket stops working. The warning signs begin to appear. The truth is, wiring doesn’t fail overnight. It ages gradually. And with the right care, you can slow that process down.
Here are some simple ways to help your electrical wiring last longer.
✔ Schedule Regular Electrical Inspections
Electrical problems rarely announce themselves. They start quietly. A loose terminal inside a socket. Slight deterioration in cable insulation. A connection that gradually weakens over time.
Everything may seem normal on the surface. Yet hidden faults can continue developing behind walls and beneath floors for years. That’s why regular electrical inspections matter.
An Electrical Installation Condition Report (EICR) allows a qualified electrician to assess the condition of the entire installation. They check for wear and tear, damaged components, overloaded circuits, and potential safety risks.
Catching these issues early ensures safety and prevents unnecessary strain on the wiring itself.
✔ Avoid Overloading Circuits
Modern homes consume more electricity than ever before. Many homes were wired decades ago. Every circuit is designed to carry a specific electrical load. When that limit is regularly exceeded, cables can heat up, connections can deteriorate, and protective devices may begin tripping more frequently.
The occasional overload might not cause immediate damage. Repeated overloads are a different story. Plugging too many high-powered appliances into the same circuit can create excess heat and unnecessary strain.
If your breakers trip often or extension leads have become a permanent feature in your home, your electrical system may be working harder than it was designed to. Over time, that extra stress can shorten the lifespan of the installation.
✔ Upgrade Outdated Components
Sometimes the weakest link isn’t the wiring itself. Even when the wiring remains in reasonable condition, older accessories can become a problem. Worn sockets, ageing switches, damaged outlets, and outdated consumer units can all affect the performance and safety of the installation.
Older fuse boards are a common example. Many lack modern safety devices such as RCDs, which are designed to quickly disconnect power when a fault is detected. Without these protections, faults may go unnoticed for longer and place greater stress on the system.
Replacing outdated components improves safety and helps the installation operate more efficiently.
✔ Fix Electrical Faults Promptly
The warning signs are often subtle. A light that flickers occasionally. A socket that buzzes when used. A breaker that trips every now and then. It’s easy to ignore these issues when everything still seems to work.
The problem is that electrical faults rarely remain small. A loose connection can generate heat. Damaged insulation can expose conductors. Minor faults can gradually develop into serious safety hazards if left unresolved. Addressing problems early protects both the wiring and the property itself.
✔ Protect Wiring From Environmental Damage
Not all threats come from electricity. Sometimes the environment becomes a threat. Moisture and heat are among wiring’s biggest enemies.
Moisture can corrode electrical connections. Excessive heat can accelerate the breakdown of cable insulation. Rodents can chew through wiring hidden in lofts and wall cavities.
These issues often occur in places homeowners rarely visit, such as basements, loft spaces, garages, and outbuildings. Keeping these areas dry, ventilated, and well-maintained can help preserve the condition of electrical cables and connections.
✔ Leave Electrical Work to Professionals
DIY is not suitable when it comes to electrical work. Electrical mistakes can even cost lives. A cable may be undersized for the circuit it serves. Safety devices may be installed incorrectly or bypassed entirely.
The challenge is that many electrical defects remain hidden. They may not cause problems immediately. Sometimes it takes months or even years before the consequences become apparent. Hiring a professional electrician ensures the job complies with the UK electrical standards and is safe.
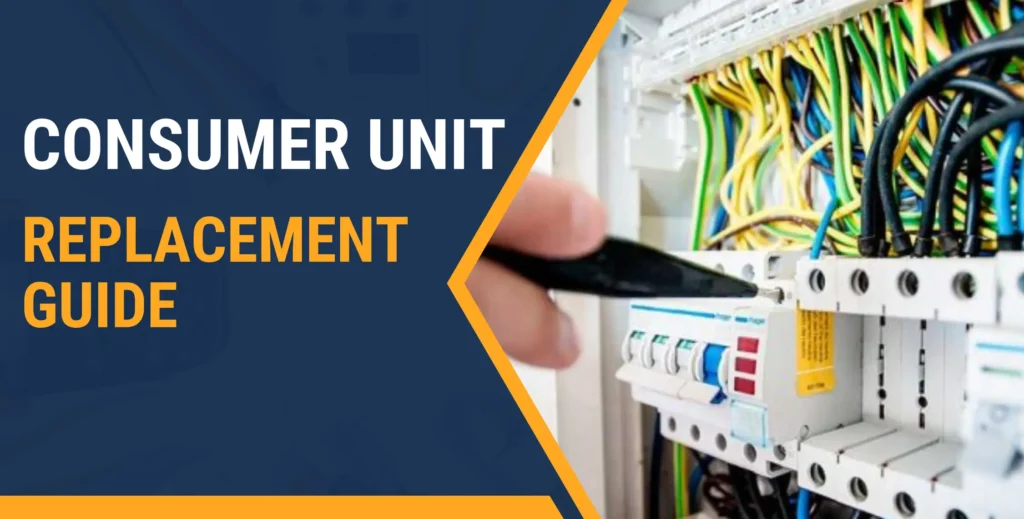
Can I Replace the Consumer Unit Instead of Rewiring?
The consumer unit acts as your electrical system’s brain. It guards every circuit. Modern units pack MCBs, RCDs, and sometimes AFDDs, offering significantly better protection than vintage fuse boxes.
So, can you just swap the consumer unit instead of rewiring? Sometimes yes. Sometimes no. The answer lies in the wall wiring condition.
If the existing wiring is in good condition and meets current safety requirements, replacing the consumer unit can be a worthwhile upgrade. But fresh consumer units cannot resurrect dead wiring.
Crumbling insulation, degraded cables, or archaic systems demand more than board swaps. Sometimes, the existing wiring can even hide faults that newer safety devices will spot.
In short, upgrading your consumer unit boosts safety and gives your system a modern facelift, but it won’t fix issues from aging wiring. Only a professional inspection and an EICR can tell you what’s going on and what steps to take next.
Bottom Line
Behind every light switch, socket, and appliance is a network of wiring working around the clock. You don’t see it. Yet it powers almost every part of modern life.
Like any system, it won’t last forever.
Most UK homes will need rewiring at some point. Usually How often should a house be rewired in the UK? Often after 25 to 30 years. But the calendar alone doesn’t tell the whole story. A well-maintained electrical installation may remain safe for longer, while neglected wiring can deteriorate much sooner. That’s why regular inspections matter.
They reveal what’s happening behind the walls before small defects become serious safety concerns. More importantly, they help you make informed decisions about repairs, upgrades, or rewiring.
At its core, house rewiring isn’t about replacing old cables. It’s about maintaining a safe, reliable home. One that can comfortably support the demands of modern living for years to come.
Your Most Asked Questions On House Rewiring Frequency Answered
What is the lifespan of a house rewiring?
Most modern house wiring typically lasts around 25 to 30 years, though its actual lifespan depends on its condition and maintenance over the years.
How do I know if my house needs rewiring?
Common signs include flickering lights, frequent breaker trips, buzzing sockets, burning smells, and outdated wiring systems.
Is rewiring a house a legal requirement in the UK?
No, there’s no legal requirement for a house rewiring. However, all electrical installations must meet strict safety standards legally.
How long does a full house rewire take?
For an average-sized home, it may take between 5 and 10 days. However, the duration may vary between 2 and 15+ days depending on the project.
Can I live in my house during a rewire?
Usually, yes. However, expect disruption, dust, noise, and temporary power outages throughout the project.
Can I rewire just part of my house?
It’s not recommended to attempt even a partial rewiring as it might not comply with the standards and safety hazards may occur.
Does rewiring increase property value?
While it might not boost the property’s value outright, it can significantly enhance its appeal to buyers and ramp up marketability.
How Often Should a House be Rewired in The UK? A Complete Guide Read More »