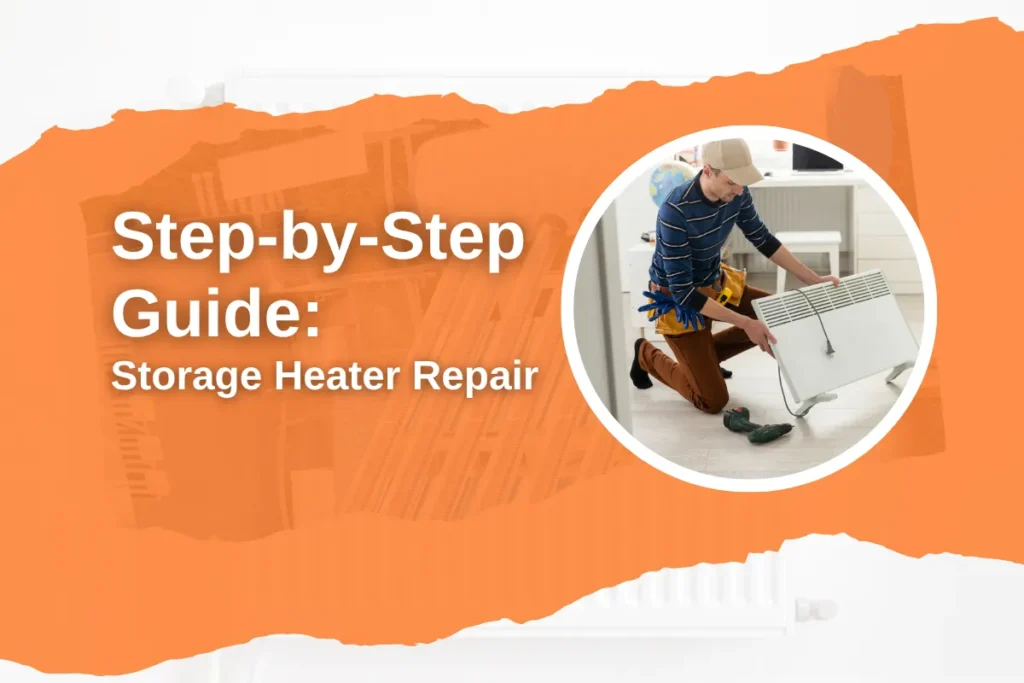
There’s nothing worse than waking up to a cold home because your storage heater failed to charge overnight. In this guide, you’ll learn how to repair a storage heater by safely working through the most common issues, from simple checks to component-level faults.
We’ll walk you through the key parts of a UK storage heater, show you how to diagnose and fix typical problems like poor heating or no heat at all, and help you decide when it’s still safe to carry on and when it’s wiser (and cheaper in the long run) to call a licensed electrician for more serious faults.
What Is Inside a Storage Heater and how it works?
Ever wondered what a storage heater is made of or how it functions? Before repairing, this know-how is essential. Let’s break it down:
Storage Heater: Core Components
If you were to remove the outer casing of a standard UK storage heater, you would find these core components:
- Thermal Bricks: High-density ceramic or clay blocks that act as the battery to retain heat.
- Heating Elements: Electric coils sandwiched between the layers of bricks that heat up during the night.
- Insulation Panels: High-grade mineral wool or ceramic fiber that prevents the stored heat from escaping all at once.
- The Thermostats: The Charge Controller (Input) regulates how much heat is stored, while the Thermal Cut-Out acts as a safety switch to prevent overheating.
- The Damper(Output Flap): A mechanical flap that opens or closes to control how much hot air is released into the room.
How Does a Storage Heater Work?
A storage heater is a bit like a giant battery for heat: it “charges” overnight when electricity is cheaper, then slowly releases that stored warmth during the day.
1. Night-time “charge”
During off‑peak hours (typically around midnight–7 AM), electric heating elements warm up dense magnesite or ceramic bricks inside the heater. These bricks absorb and store a large amount of thermal energy while electricity prices are at their lowest.
2. Holding the heat
Once peak-rate hours begin in the morning, the heater stops drawing power. Thick internal insulation helps trap the heat inside the core, with a small, gentle amount of warmth naturally radiating into the room to reduce the chill.
3. Releasing the warmth when you need it
- Manual models: You adjust an Output or Boost dial, which opens internal vents so warm air can escape by natural convection and circulate around the room.
- Fan‑assisted / HHR models: Built‑in quiet fans push warm air out more precisely, giving you better control over when and how quickly the stored heat is released.
Storage Heater Repair Basics: What You Should Know First
Safety is the most important part of any DIY electrical project. Storage heaters are simple machines, but they deal with high voltages and intense heat. Before you opt for a storage heater repair, you must know these basics:
Critical Safety Precautions:
Safety comes first, as electrical projects are risky and even a small mistake can cost you a lot. The safety checks are:
- Dual Power Isolation: Storage heaters typically have two separate power supplies (one for the off-peak charge and one for the 24-hour boost/fan). Turn off both switches at the wall and the consumer unit (fuse box).
- Let the Brick Cool Down First: Never attempt a repair immediately after a charge cycle. These bricks can stay dangerously hot for over 24 hours. Wait until the unit is completely cold to the touch.
- Respiratory Protection: Older units may contain asbestos. Older insulation (mineral wool or glass fiber) can irritate the lungs and skin. Always wear a mask (FFP2 or N95) and gloves when handling the internal core.
Required DIY Toolkit:
There’s no need for professional or heavy tools for a storage heater repair. Here are the required non-negotiable DIY tools for storage heater repair:
- Digital Multimeter: To check thermostats and to test if the heating elements have continuity.
- Insulated Screwdrivers: Usually a Phillips or Pozi-drive head to remove the outer casing.
- Long-Nose Pliers: Crucial for removing spade connectors from heating elements without damaging the wires.
- Vacuum Cleaner: This is used to remove dust and lint that often cause burning smells or overheating.
Pre-Repair Checklist:
The fix can be simpler than you think. Before you open the cover of a storage heater, here is a checklist you should run through:
- Inspect the Wall Switch: Heaters can stop working due to a blown wall-mounted fused spur.
- Check the Fuse Box: See if the circuit breaker is tripped. If it keeps trapping frequently, that is a sign of a faulty element inside.
- Check the Model Identification Plate: Find the sticker on the side or the bottom. Write down the model number and series to buy essential parts if required.
- Dry Clothes Check: If the heater is draped or covered by a towel by mistake, the thermal cut-out gets triggered. Dry clothes block air flow, temperature rises inside the casing, and the TCO trips to cut power and save from fire hazards.
- Clear the Area: A clear space is required before laying bricks on the floor. Make sure the floor is tidy.
- Check for Grants: If you think you are eligible, you can look for the Government’s ECO4 scheme to get funding.
How to Repair a Storage Heater: Step-by-Step
A cosy, warm home shouldn’t depend solely on the luck of your storage heater’s mood. When your heater starts acting up, it’s easy to feel helpless, but often, the fix is easy.
After taking safety precautions and troubleshooting, here’s the comprehensive, step-by-step guide to repairing a storage heater:
Step 1: Access the Internal Components
- Remove the Cover: Locate the two or three screws along the bottom of the front panel. Remove these and keep them in a safe tray—they are often specialized self-tapping screws.
- The Display Trap: If your heater has a digital screen on top, do not pull the panel away quickly. Lift the panel slightly to find the thin ribbon cable or wiring loom connected to the screen. Gently unplug it before fully removing the front cover. It’s the ribbon cable warning.
- Lift and Hook: Pull the bottom of the panel outward and lift upward to clear the top mounting hooks.
- Handle Insulation with Care: You will see a panel of mineral wool or fiberglass insulation. Wear gloves and a mask. Even modern insulation can cause skin rashes and respiratory irritation. Place it flat on a clean surface to avoid tearing it.
Step 2: Reset the Thermal Cut-Out
If the heater is completely dead, the safety trip is the first suspect.
- Locate the Cut-Out: This is usually a small black or white plastic component near the top of the brick core with two wires leading to it.
- The Reset: Press the small button (red or white) in the center. If you feel or hear a click, the heater was likely smothered by laundry or overheated.
- Reassemble & Test: Slide the insulation back in, reattach the display cable (if applicable), and hook the front panel back on.
Step 3: Testing the Heating Elements
- Visual Inspection: Before using tools, look for hot spots—blackened wires or melted plastic connectors. If a wire has crumbled, you may just need a new high-temperature terminal.
- The Multimeter Test: With the power OFF and the wires disconnected from the element terminals:
- Set your multimeter to Ohms (Ω).
- Touch the probes to the element ends.
A reading of 40Ω to 80Ω is healthy. If you get an ‘OL’ or ‘1’ (Open Loop), the element is blown internally and must be replaced.
- The Photo First Rule: You must remove the thermal bricks to reach the elements. Take a photo of the bricks first. If they aren’t put back in the exact original order, the element can get pinched and short out immediately.
Step 4: Replacing the Input Thermostat
If the heater stays cold (despite a reset) or gets dangerously hot and doesn’t shut off, it’s likely faulty.
- Remove & Replace: The thermostat is located behind the control knob. Pull the plastic knob off, unscrew the mounting bracket, and swap the wires one by one to the new unit to ensure they go to the correct terminals.
- Capillary Tube: Be extremely careful with the long, thin copper tail (the sensor). Do not kink or snap it; it needs to be threaded back into its original slot near the bricks to sense the core temperature accurately.
Common Signs Your Storage Heater Needs Repair
Storage heaters show signs if something goes wrong inside them. Know it’s time to repair if you see:
- Cold Spots Inside: If any element has failed.
- No Heat or Low Heat Output: Often due to a faulty thermostat or a broken heating element.
- Too Hot Surface or Overheating: Indicates a blocked vent or a faulty thermostat.
- Burning Smell: Overheated wiring or an emergency electrical issue.
- Circuit Breaker Tripping: Due to damaged wiring or broken elements.
- Sudden High Electricity Bills: A malfunctioning heater consumes excessive power to heat up.
- Awkward Sounds: Buzzing or rattling sounds may be a sign of loose electrical components or an element failure.
- Unresponsive Controls: If the input or output control doesn’t work, feels loose or broken, or can’t bring changes in temperature.
- Discolouration or cracks: Scorch marks, cracked casing, or yellowing indicate an old heater.
When to Leave Storage Heater Repair to Professionals?
DIY repairs sound good when it’s about checking the circuit or general troubleshooting, like resetting. But when it becomes a major issue like overheating, awkward sounds, burning smells, these are p
rofessionals’ cups of tea, not yours. Plus, electrical jobs must be done with a certified expert electrician according to UK law. You can do the job if you have permission and can comply with the regulations.
Here’s when you need professional electricians’ help:
- No heat or overheating.
- Unusual noises.
- Electrical issues.
- Physical damages like cracks or discolouration.
- Old unit replacement.
- Annual servicing.
Bottom Line
So, how to repair a storage heater? That’s a common question among UK homeowners. Simple issues can often be fixed with a bit of troubleshooting. However, for complex electrical work, it’s safest to bring in professionals.
Timely repairs of your storage heater are essential. Delaying can lead to serious risks like fire hazards or total heating failure. Don’t wait until it’s too late. Stay proactive and fix it early.
Your Most Asked Storage Heater Repair Questions Answered
1. Is there a grant to replace old storage heaters?
Grants for replacing old, inefficient storage heaters are primarily available through the UK government’s ECO4 scheme, which provides funding for homeowners or private tenants with low income or specific benefits.
2. What is the life expectancy of a storage heater?
Standard storage heaters last for 10 to 30 years. With proper maintenance, they can typically be operated for 15-20+ years.
3. Why would a storage heater stop working?
The reason for a storage heater not working can be a consumer unit tripping, a faulty thermostat, a worn-out wire, broken elements inside the heater, a loose connection, etc.
4. Do I leave storage heaters on all the time?
Yes, storage heaters should generally be left switched on at the wall during winter as they get charged overnight. But you must keep them off during the summer.
5. How can I tell if my heater is broken?
There will be no heat, weak airflow, strange noises (grinding/screeching), or unpleasant burning odours if your heater is broken.
6. Can I put a sofa in front of a storage heater?
No, it’s not recommended to put a sofa directly in front of a storage heater. It disrupts the heaters’ efficiency and may cause fire hazards.
7. Are storage heaters still legal?
Yes, storage heaters are legal and can still be used. But according to the new regulations, it’s a mandate that new units must meet high efficiency and safety standards.
8. Do storage heaters have a reset button?
Yes, many storage heaters have a manual reset button (or thermal cut-out) located inside the unit, usually at the top right.
9. Is it worth replacing old storage heaters?
Definitely, replacing old storage heaters with a modern, efficient one is worth it if they are over 15 years old.
10. Can storage heaters be repaired?
Yes, storage heaters are repairable, and it is often more cost-effective than replacing them.